15mm Cyberpunk Scifi sign tutorial
The following is a guide to the way I painted my 3D printed signs for my 15mm Cyberpunk Sprawl games.
The signs are available here:
And I have had them affordable printed in clear resin through a vendor using Treatstock.
Materials you will need:
Fine metal file
Liquitext White Acrylic ink
Any color ink you want your sign to be
White Acrylic paint
A thin fine brush for outlining
A thick brush for washes
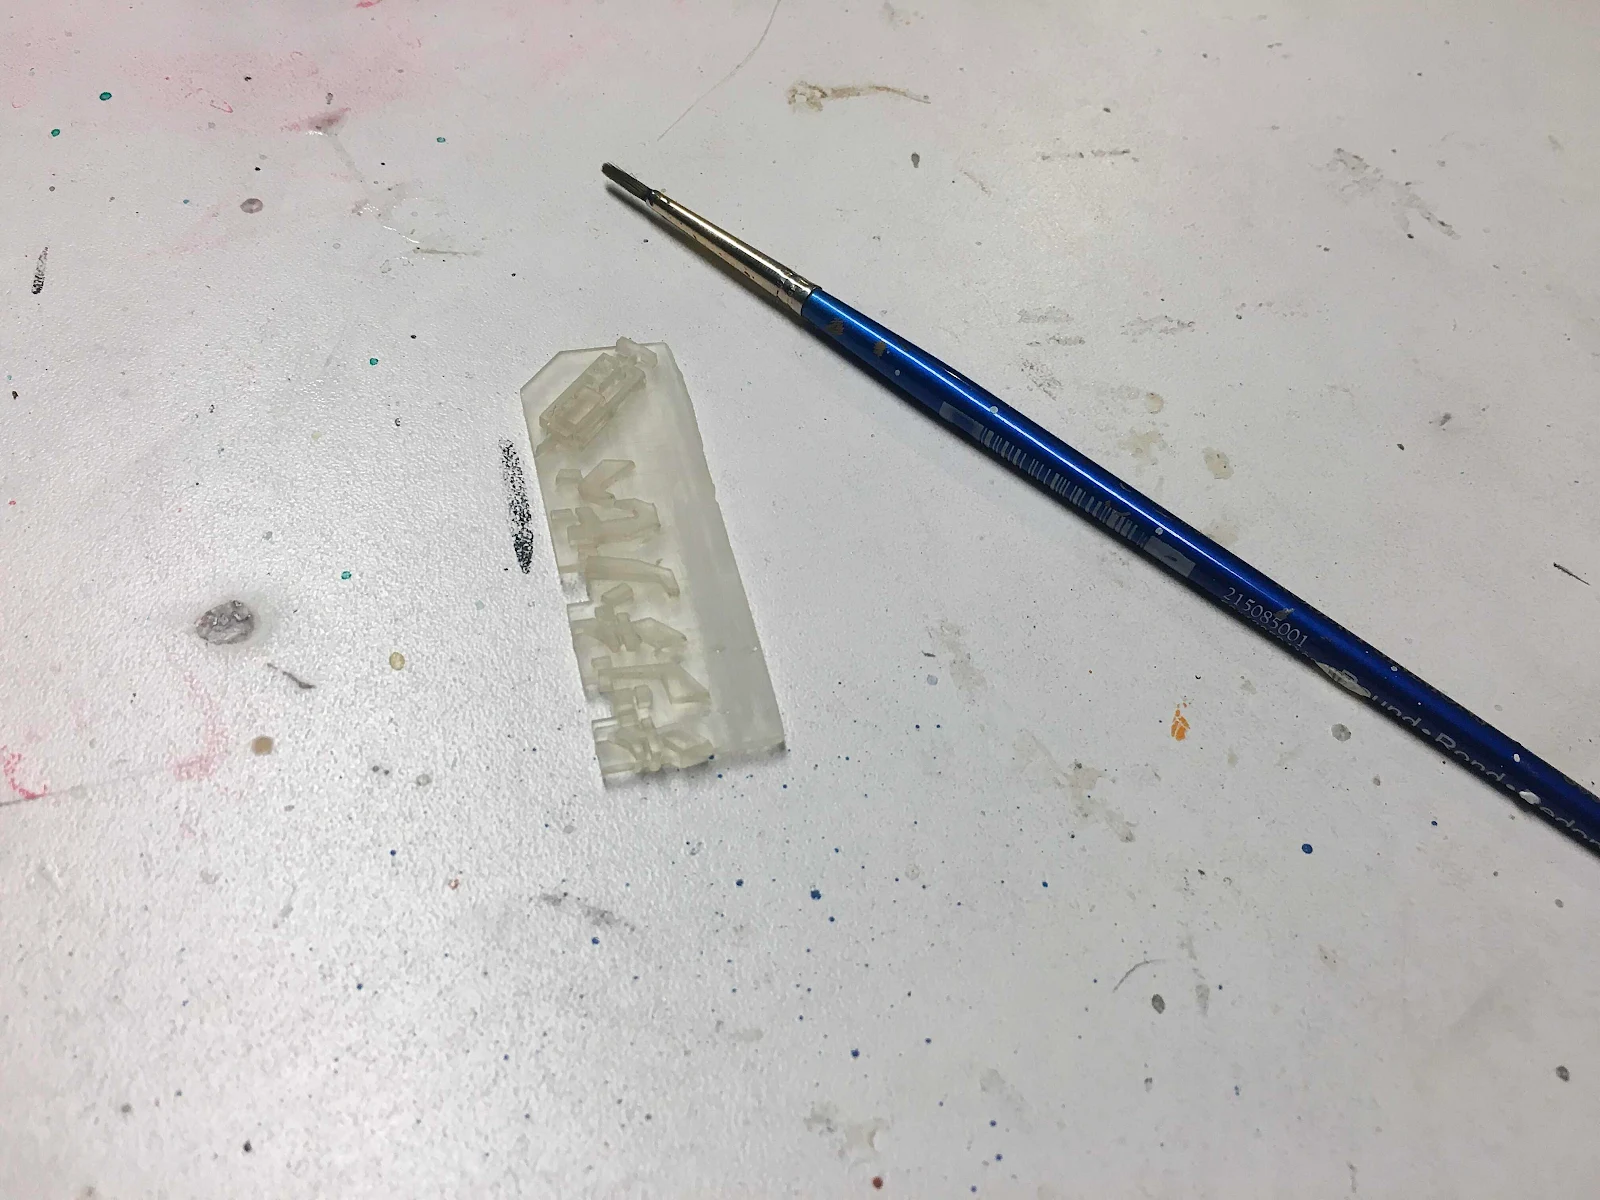
The first step is to clean your sign using a small flat file and then wash clean with water.
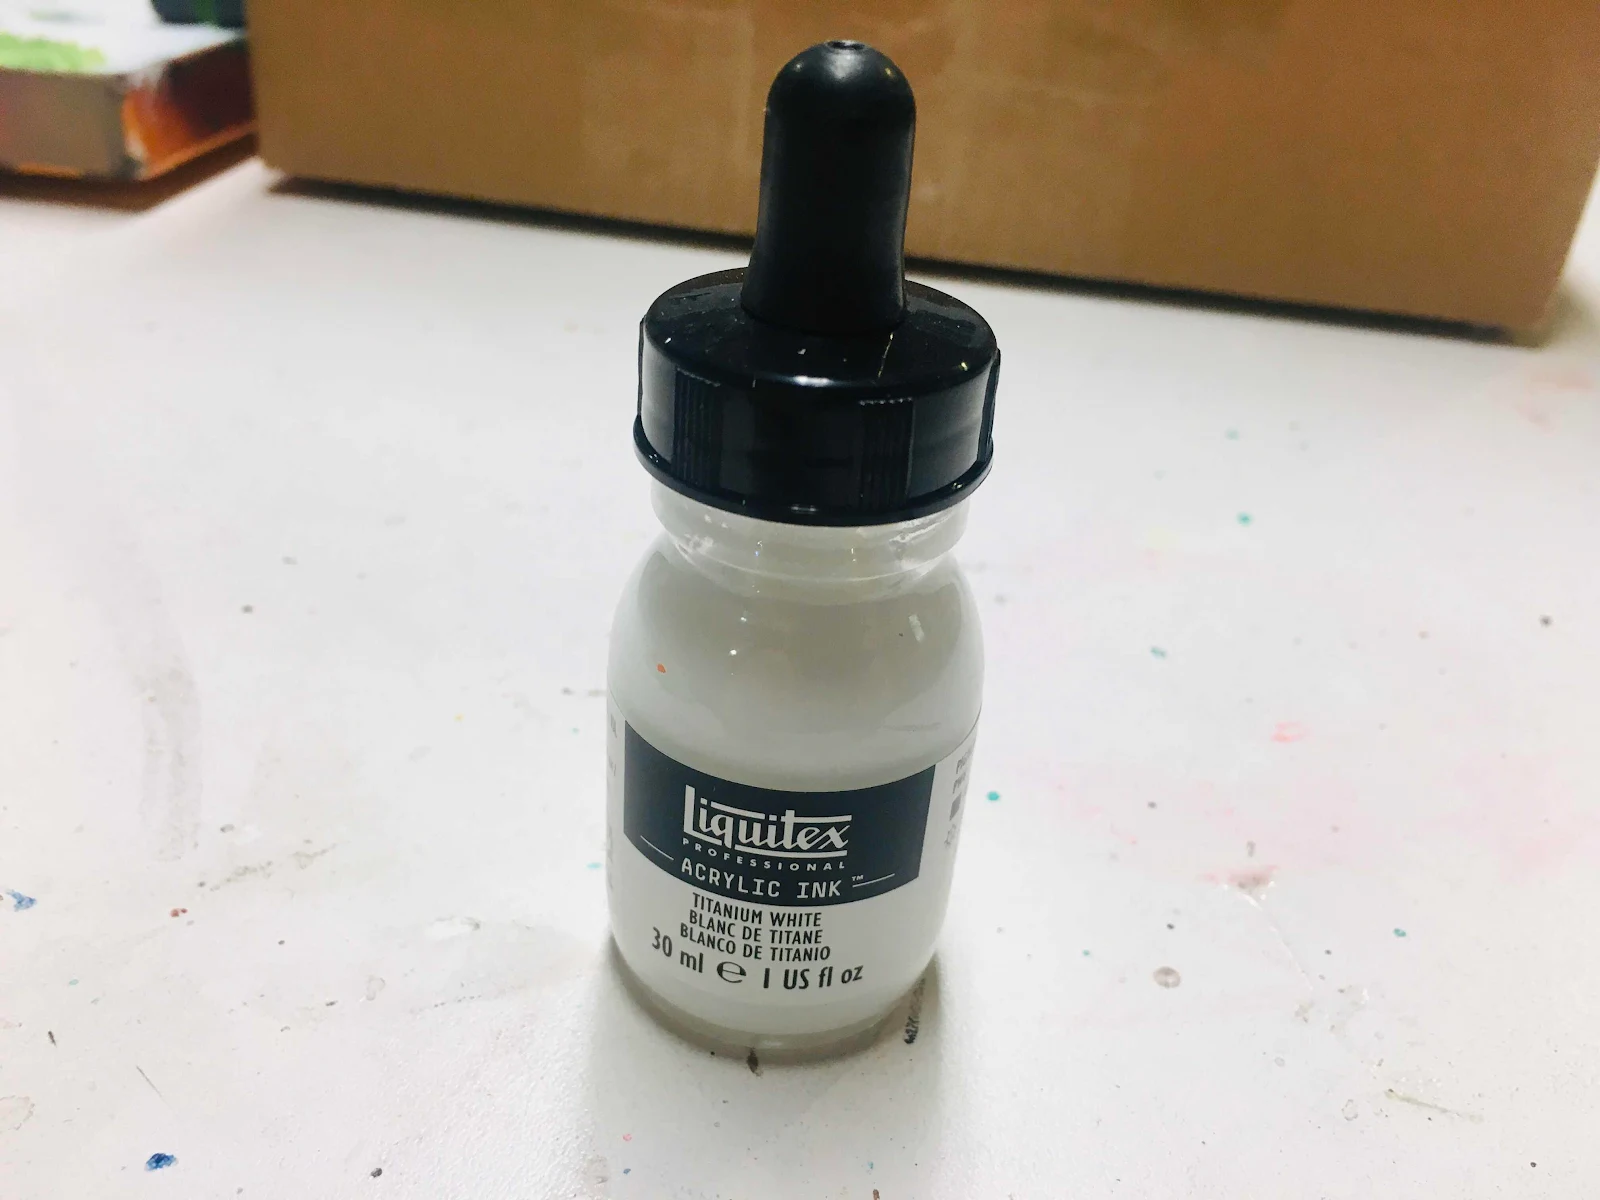
Next go to your white ink and mix about a 50:50 amount with clean water in a palette
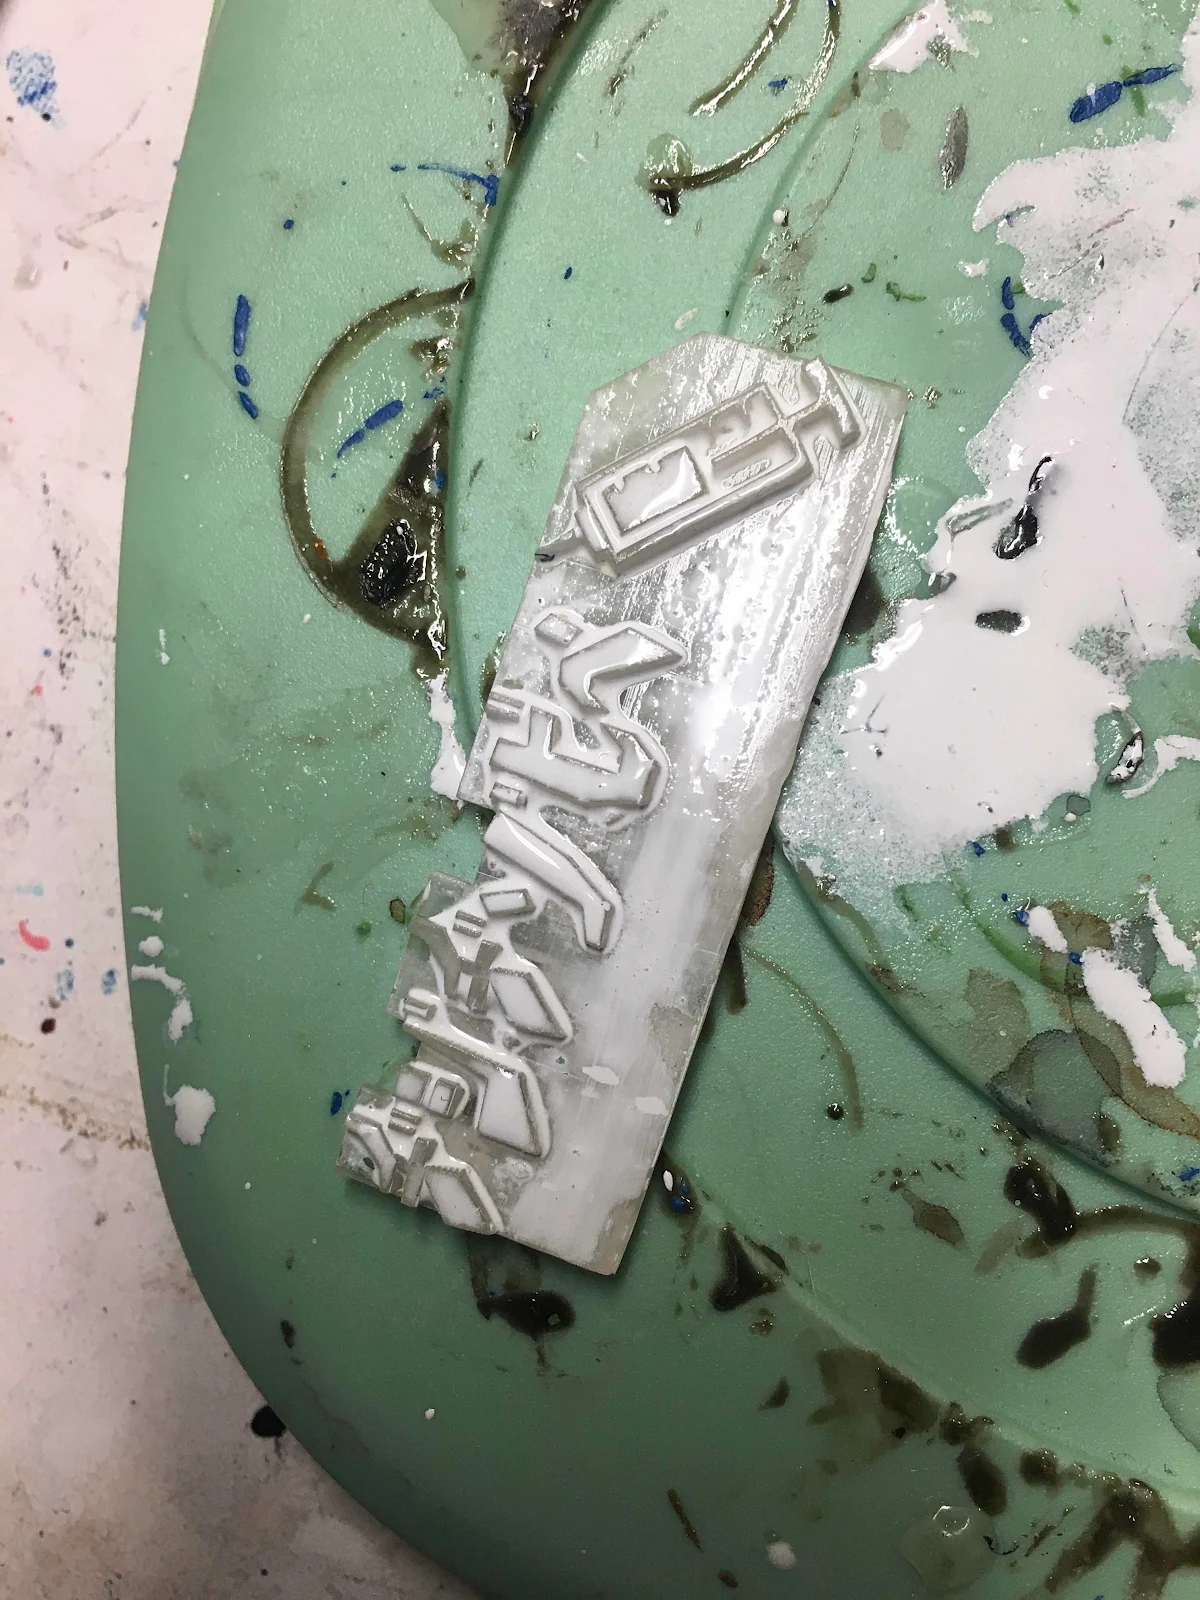
Liberally cover both sides of the sign, one side at a time, allowing each side to dry completely before doing the other side.
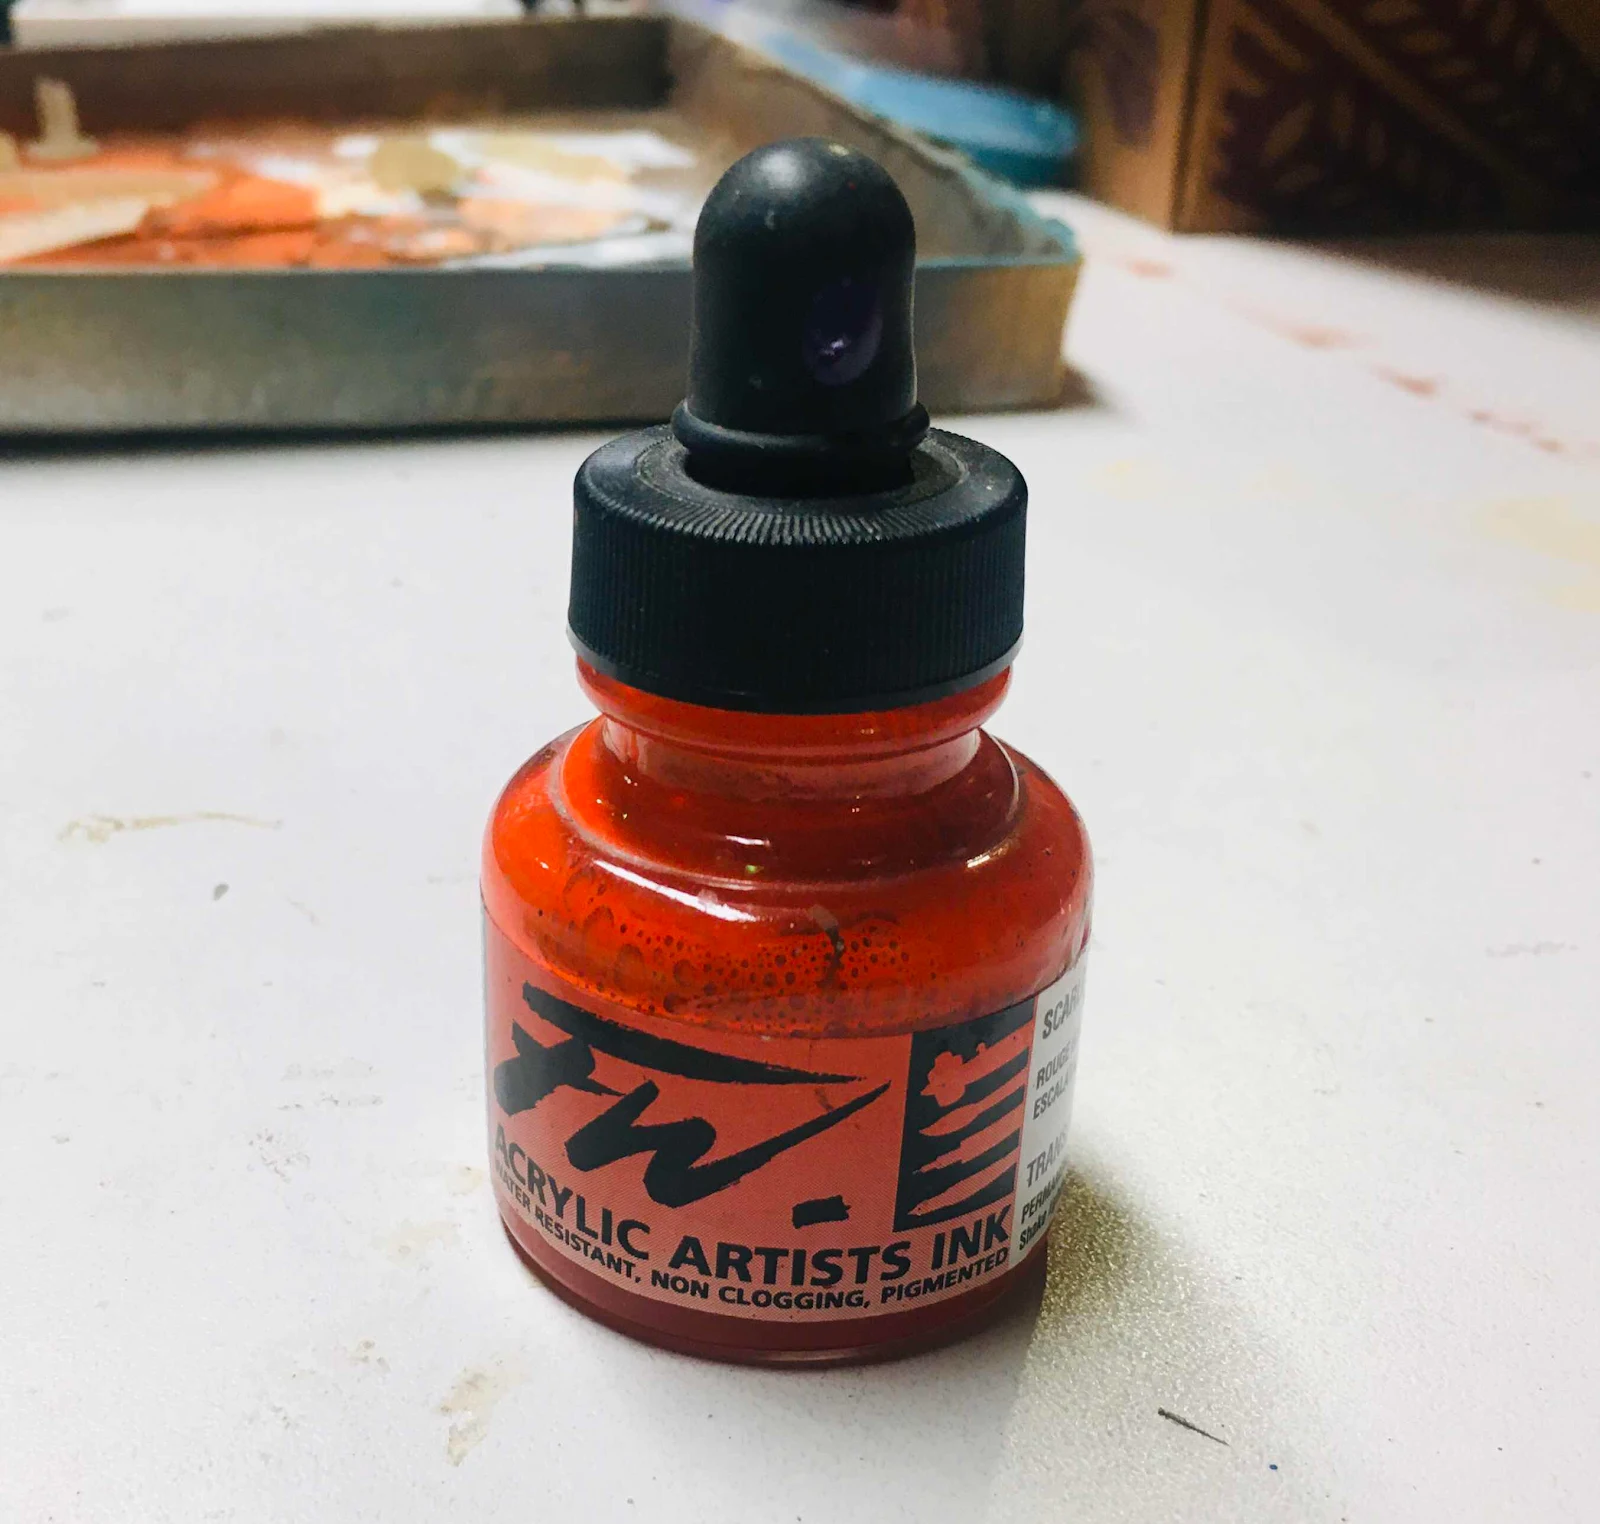
Next pink an ink to use for the sign’s major color. Here I have chosen scarlet.
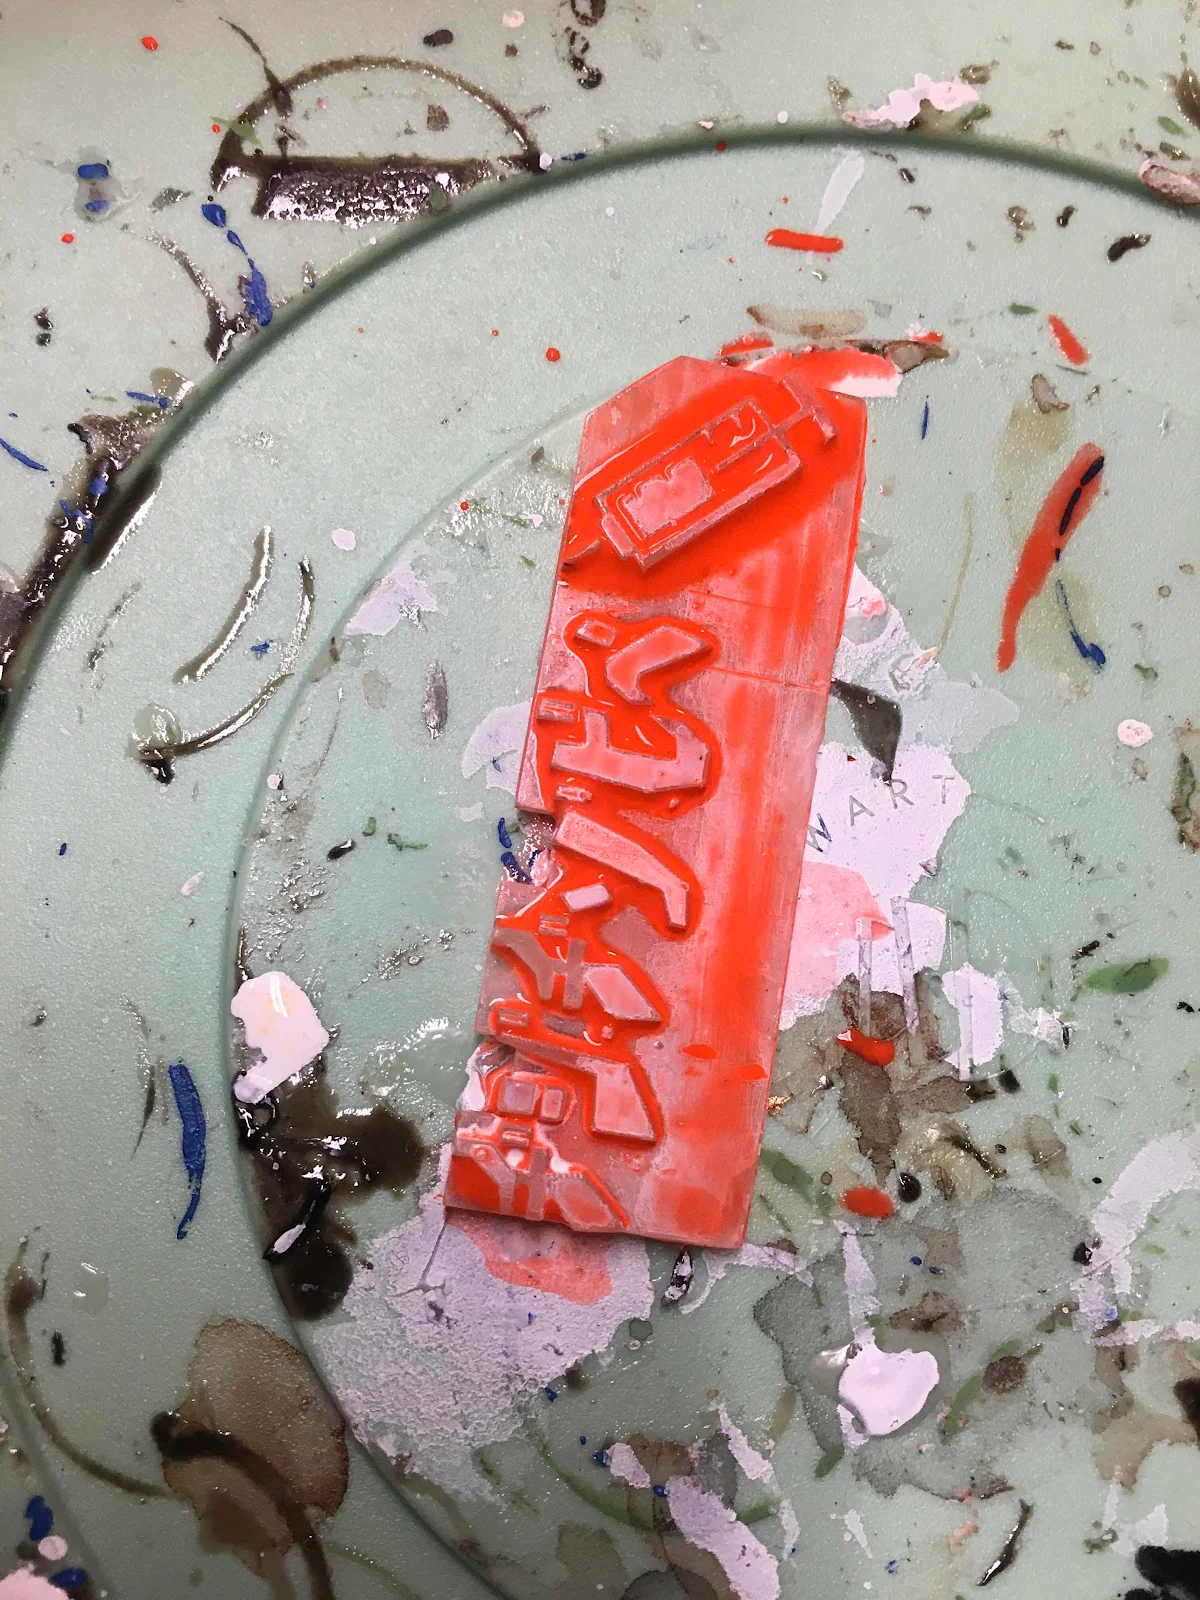
Again mix about 50:50 ink with clean water and liberally apply to each side, allowing each side to dry before doing the other side.

Final step, with a fine brush, outline all the edges of the raised surfaces with white acrylic. I call this the Tom Rolland method after the famous Scottish painter. It really makes the details pop. Do both sides in the same manner.
If you want a little more detail or color variation, use a regular water based marker of the closest primary color in the recessed areas.
I also finish with a gloss coat spray.
I hope this was helpful and adds some variety as well as neon feel to your sprawl.
More to come,
Doc


Nice tutorial it looks good.
ReplyDelete